
Back in the mid Sixties, guitarists had a choice of maybe three or four pedals, and the players who were far out enough to use them all at once connected them together with cables several feet long, and used 20-foot coiled cables on each side of the pedal chain to go between their guitar and amp. From a modern perspective, this was not an ideal arrangement, because the cable runs led to all sorts of noise and tone sucking. But that’s also how some players got those “classic rock” sounds that guitarists still crave after all these years.
Flash forward five decades, and pedal chains have become far more sophisticated than a few boxes arranged on a stage floor. Many players build their own pedalboards, and manufacturers service varied needs with simple carrying cases (that sometimes include Velcro strips to seat your pedals on a floorboard), pre-fab boards with tiered shelves and rugged tour monsters with regulated power, tuner jacks, onboard headphone amps and other goodies. And if you’re not the do-it-yourself type – and wield sufficient coin – you can have a pedalboard and effects system custom-built to your every whim by experts.
If you go the D.I.Y route, however, the road can be daunting. For one, you’re faced with a plethora of pedals – including multi-effects units that offer dozens of effects, and state-of-the-art modeling units that emulate vintage stompboxes. And that’s not all. Besides having literally hundreds of pedals to choose from, there are dozens of different types of cables, and tons of associated products such as pedalboard power supplies and buffering devices. If you get anything wrong – well, you may get lucky, and everything will sound brilliant to you anyway. Then again, your attempt at building the perfect pedalboard could be bedeviled by noise, annoying level inconsistencies between pedals, frustrating tonal anomalies and other problems.

So to help unravel some of the mysteries confronting prospective pedalboard builders and purchasers, we consulted some noted system designers on nearly every aspect of their art – from power to wiring to buffers and beyond. You’ll find advice from the inventor of the pedalboard, Pete Cornish (Pete Cornish, Ltd.), as well as from Bob Bradshaw (Custom Audio Electronics), Dave Friedman (Rack System, Ltd.), Michael Piera (AnalogMan.com), and James Santiago and Josh Fiden (Voodoo Lab).
Hopefully, after you digest this user-friendly arrangement of pedalboard science, you’ll know everything you need to correct any problems with your current rig, or build an effects system that precisely matches your performance style, technical desires and creative approach.
Power

Unless all of your pedals run on batteries – and you enjoy changing them – you’ll need some sort of power supply. Merely attaching a power outlet strip to your board, and plugging in a bunch of wall-warts would be one solution, though, thankfully, more elegant and efficient options are available. The first thing to determine is what sort of power each of your pedals requires: the voltage, whether that voltage is DC or AC and what amperage the pedal draws (most pedals draw between 3mA and 60mA, though digital pedals may draw 150mA or more).
“There are all sorts of pedals out there with different voltages, including nine, 12, 18 and 24 volts,” says Dave Friedman. “And guitar players also tend to have a hard time with AC and DC. They’ll say, ‘I put this 12-volt adapter into this pedal and it should have worked.’ No, you plugged a 12-volt AC adapter into a DC pedal and poof!”
Once you’ve got these issues sorted out, you can look for a power supply that meets your specific needs (renegade pedals with unusual power requirements, including those powered by 120-volt AC, may simply need to be connected to an onboard or external AC outlet).
“Beyond having a regulated power supply that can handle all your pedals, it’s a good idea to have isolated power taps to prevent ground loops,” says Bob Bradshaw, “because then you’ll have less trouble interfacing a wide variety of different manufacturer’s pedals – especially old and old-style fuzz-boxes that use discrete transistors, rather than integrated circuits. ICs are relatively forgiving, because they already have circuitry within the chip that helps stabilize the circuits’ different power supplies. However, pedals that utilize bucket brigade circuits – such as analog delays and choruses – are particularly susceptible to coupling noise.”
“Power supplies such as Voodoo Lab’s Pedal Power have isolated taps with no common ground, so it’s like having multiple individual power supplies,” adds Friedman. “The problem with power supplies that daisy chain all the pedals together is that they connect all the audio grounds and all the power grounds together, leading to ground loops between the pedals. This can result in hums and buzzes, or even short circuits from mixing positive- and negative-ground pedals. I’m not saying you always have to have completely isolated power, but it’s the best way to ensure that everything will work perfectly.”
Friedman also cautions against testing your pedalboard for hum and noise using a clean amp.
“I always test into a really high-gain amp that enables me to hear every little noise imaginable,” he says. “That makes it easier to track down problems.”
Finally, how power is routed from the power supply to the pedals is also an issue, as there are not only several types of connectors – Boss pedals have 2.1mm barrel connectors, whereas older Electro-Harmonix pedals often have 3.5mm mini-phone connectors – but the polarity is reversed on some pedals (such as Moogerfoogers, which have tip-positive barrel connectors, as opposed to the more common tip-negatives). Most power supplies come with a variety of connecting cables, including snap-on 9-volt battery clips to power pedals with no power jacks. And speaking of 9-volt batteries, Pete Cornish reminds us that in terms of noise problems, “Batteries are best, as they can’t hum!”
Bypass, Buffer or Both?

The topics of buffers and true-bypass switching are often addressed in the same breath, but they are only related when considered within an either/or context of maintaining the integrity of a guitar signal when using multiple effects pedals. Put simply, a buffer is a device that converts a high-impedance signal – such as the one originating from your guitar’s output – into a low-impedance signal. The reason that you might want to use a buffer is that every length of cable – and every device connected between your guitar and amplifier – will result in additional capacitance, which will affect the sound in various ways, most notably reducing high frequencies.
Passive guitar pickups generate relatively weak voltages – as well as high impedance levels – that can be greatly affected by capacitance. Low impedance levels, on the other hand, suffer less from capacitance, and can more easily maintain signal integrity when running longer lengths of cable and routing the signal through multiple effects pedals. The resulting sound should more closely approximate what you hear when plugging your guitar directly into your amp.
True-bypass switches purport to completely bypass a pedal’s circuitry, eliminating the additional capacitance, and therefore also resulting in a sound that more closely approximates plugging your guitar directly into your amp. So what’s all the fuss about?
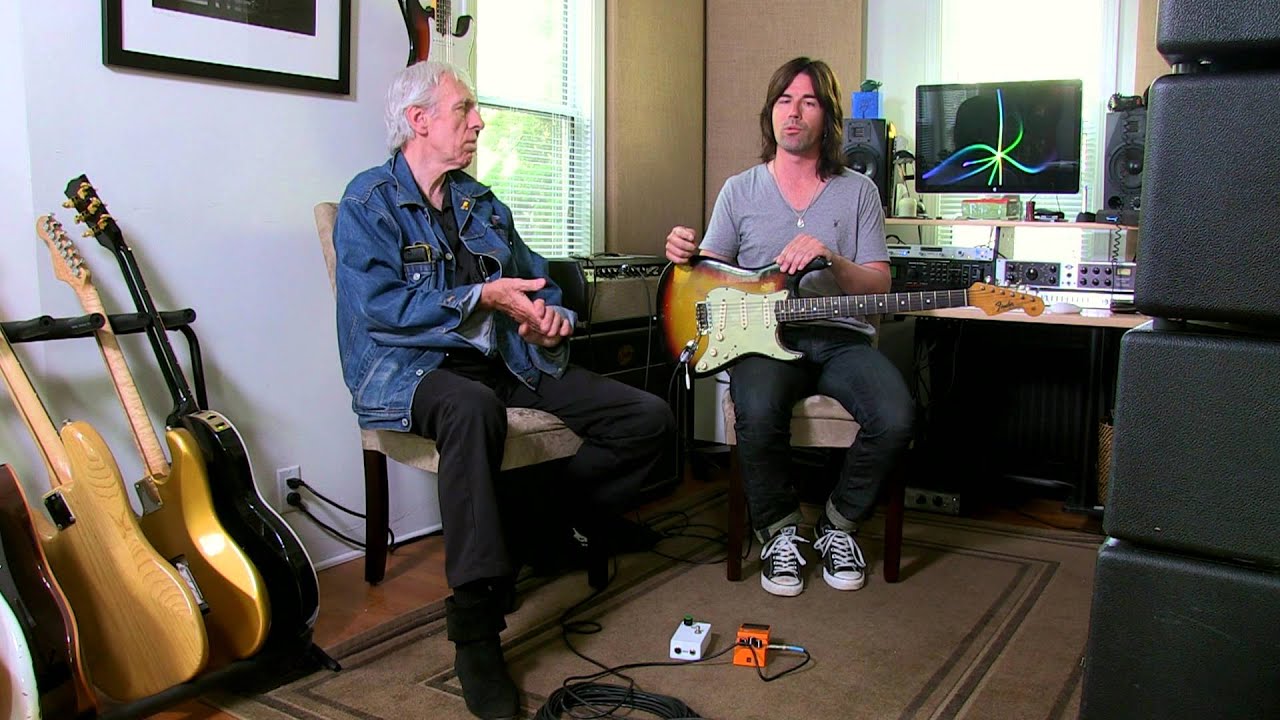
Thomas Nordegg (guitar tech to Frank Zappa, Steve Vai) and Pete Thorn (guitarist with Chris Cornell, Melissa Etheridge, and others) discuss true bypass and buffered guitar effect pedals, cable length and the effect they all have on your tone.
“I don’t care if pedals are 100-percent bypassed or not, going through a long chain of pedals and subsequent cables is going to degrade your signal,” says Bradshaw. “You still have connection issues from one pedal to the next, and even the highest quality cables and plugs are going to cause a slight degradation to the sound. It’s very necessary to address the problem with a high-quality buffer if you want to retain your tone, and there are a lot of them out there. In a pinch, you can use a Boss pedal as a buffer – even the company’s TU-12 tuner. Having said that, there are issues with buffers, particularly how they affect the response of some fuzzes and distortion boxes, which is why you may want to put those pedals ahead of any sort of buffer in the signal chain.”
“A buffer is often used as the first device on a board to get the signal from your guitar into good shape early on,” agrees Michael Piera. “But that’s a problem when using a vintage pedal like a germanium Fuzz Face, which needs to interact directly with your pickups for the magic clean-up effect to occur when you roll your guitar’s volume knob down, because the pickup and volume knob become part of the fuzz’s circuit. Similarly, germanium treble boosters such as Rangemaster-type devices get overly bright and nasty sounding when buffers or buffered pedals are placed before them.
“An exception to the rule would be wahs, which are usually placed before fuzzes in the signal chain. In order to keep a vintage wah from losing tone and sweep when placed before a fuzz, a buffer should be added to the wah, which will allow it to function better when it is on. Then, taking the wah out of the circuit with true-bypass switching – either internal or via an external loop – removes the buffer so that the fuzz still functions well. The Foxrox Electronics Wah Retrofit kit can be added to most vintage-style or boutique wahs and Teese RMC wahs now include this ‘fuzz friendly’ buffer circuitry. Finally, I advise keeping the total number of buffers in your rig to a minimum, as slight tonal changes and noise are cumulative, and they increase with the number of circuits.
Cabling

All of our experts agreed that the cable from the guitar to the first pedal – especially if that pedal happens to be a vintage or vintage-style fuzz – was the most critical in the signal path. As to what percentage of your pedalboard budget to spend on cabling, opinions varied.
“I’ve been using Mogami 2524 for years,” says Bradshaw. “I like the way it works and the way that it sounds, though it certainly isn’t the most high-end cable available. But I’m a bit of a skeptic about a lot of this stuff until I hear it for myself. I don’t really believe in paying $100 for a 10-foot cable.”
Friedman has also used Mogami cable, and appreciates its durability, but he says that he hasn’t always loved the way it sounds. “I’ve used a lot of cables over the years, including some from Horizon that I like the sound of, but I’m currently using a lot of Belden cable of various kinds, depending on the application,” he says. “I tend to listen to the cable and decide if that’s what I’m going to use.”
One point about cabling, however, was not in dispute.
“I hate solderless cables,” exclaims Bradshaw. “I’m sorry, but if you want something done right, and you want the thing to last, then you have to solder your connections. If musicians don’t want to get into soldering, that’s fine, but they do so at their own peril.”
“For some people, I use George L’s cable,” says Friedman, “but I use soldered-on ends rather than George L’s solderless connectors. The cable sounds really good, but there is serious potential for failure using non-soldered ends – largely because the majority of people who use George L’s cable for their boards don’t cut the cable exactly right, and the ends don’t connect properly. Personally, I would say buy some short angle-to-angle soldered cables at a store, and save yourself a lot of trouble.”
If you want to consolidate your cable runs from your pedalboard to your amp, PedalSnake products allow you to combine audio, MIDI, footswitch and power lines into a single cable.
Effect Loops

Given that many amplifiers manufactured throughout the past 35 years have built-in effects loops, the question of which effects should be patched into them naturally arises. Generally, effects loops are designed to work optimally with non-pedal-type devices – such as rackmounted reverb, delay and multi-effects units – which utilize different input and output levels than pedals intended for use between a guitar and amplifier.
Although some effects loops allow you to switch the level between -10dBu (for most semi-professional gear) and +4dBu (for most pro gear), and/or dial in the send and receive volumes, how any particular pedal will perform when inserted into an effects loop will be most easily determined by listening.
Perhaps more important is the question of which types of effects should be placed in an amp’s effects loop. As the loop is typically located after the preamplifier section’s tone-shaping controls, and before the power amplifier, it follows that if you want to place amp-generated distortion before a delay or other effect, that effect should be inserted into the effects loop. On the other hand, if you get your distortion by plugging a pedal into the input of a clean amplifier, from an effects ordering perspective it won’t really matter whether the other effects are connected to the amp’s input or its effects loop.
Mono to Stereo

Some effects pedals have stereo outputs, allowing you to play in stereo using two amplifiers (or record in stereo using two inputs on a recording console). If you only have one stereo pedal on your pedalboard, and you place it last in the signal chain, fine. But if you have more than one stereo pedal, you may have a problem, as quite often pedals with stereo outputs have only a mono input, and even those with two inputs are often not actually true stereo, as the two inputs are summed to mono before feeding the stereo processor.
“Every stereo pedal that comes after the first stereo pedal has to be true stereo – with discrete stereo inputs and outputs – otherwise you are screwed,” warns Bradshaw. “And even with true stereo pedals, you still have to watch out for phase and other imaging issues.”
Using a stereo pedalboard with two amps also gives rise to another issue. “You can create a ground loop between the two amplifiers,” says Friedman. “A lot of times, people will use a ground lift on one of the amps to get around that, but, electronically, that’s not the safest or even the quietest way to do things. The best solution is to have a professional create an output box with a single isolation transformer to isolate one of the amps.”
Attaching the Pedals

Commercially available pedalboards generally come with specific materials for use when attaching pedals to them. If you are going entirely D.I.Y., there are numerous options – including nylon ties and mini bungee cords – but most people use a locking adhesive material of some sort.
“I’ve been using one-inch-wide 3M Dual Lock tape for years now,” says Bradshaw. “There are several densities, and I use the Clear type. I don’t use Velcro. Never have. It just doesn’t lock the pedals down very well.”
Friedman, too, uses 3M Dual Lock on his custom laminated pedalboards, but he recommends using Velcro on homemade boards constructed from plywood.
“The Dual Lock doesn’t stick well to plywood, and it also requires that you pull all the rubber off the bottom of the pedals, and clean the residue off with adhesive remover,” he says. “If you just slap some two-inch Velcro right on the rubber and mount it to a piece of wood you got from a hardware store, you will be fine.”
