Acoustic Recording Made Easy: How to Choose and Use the Best Mics
Producer Mikel Ross schools us on how to get the best results in the studio.
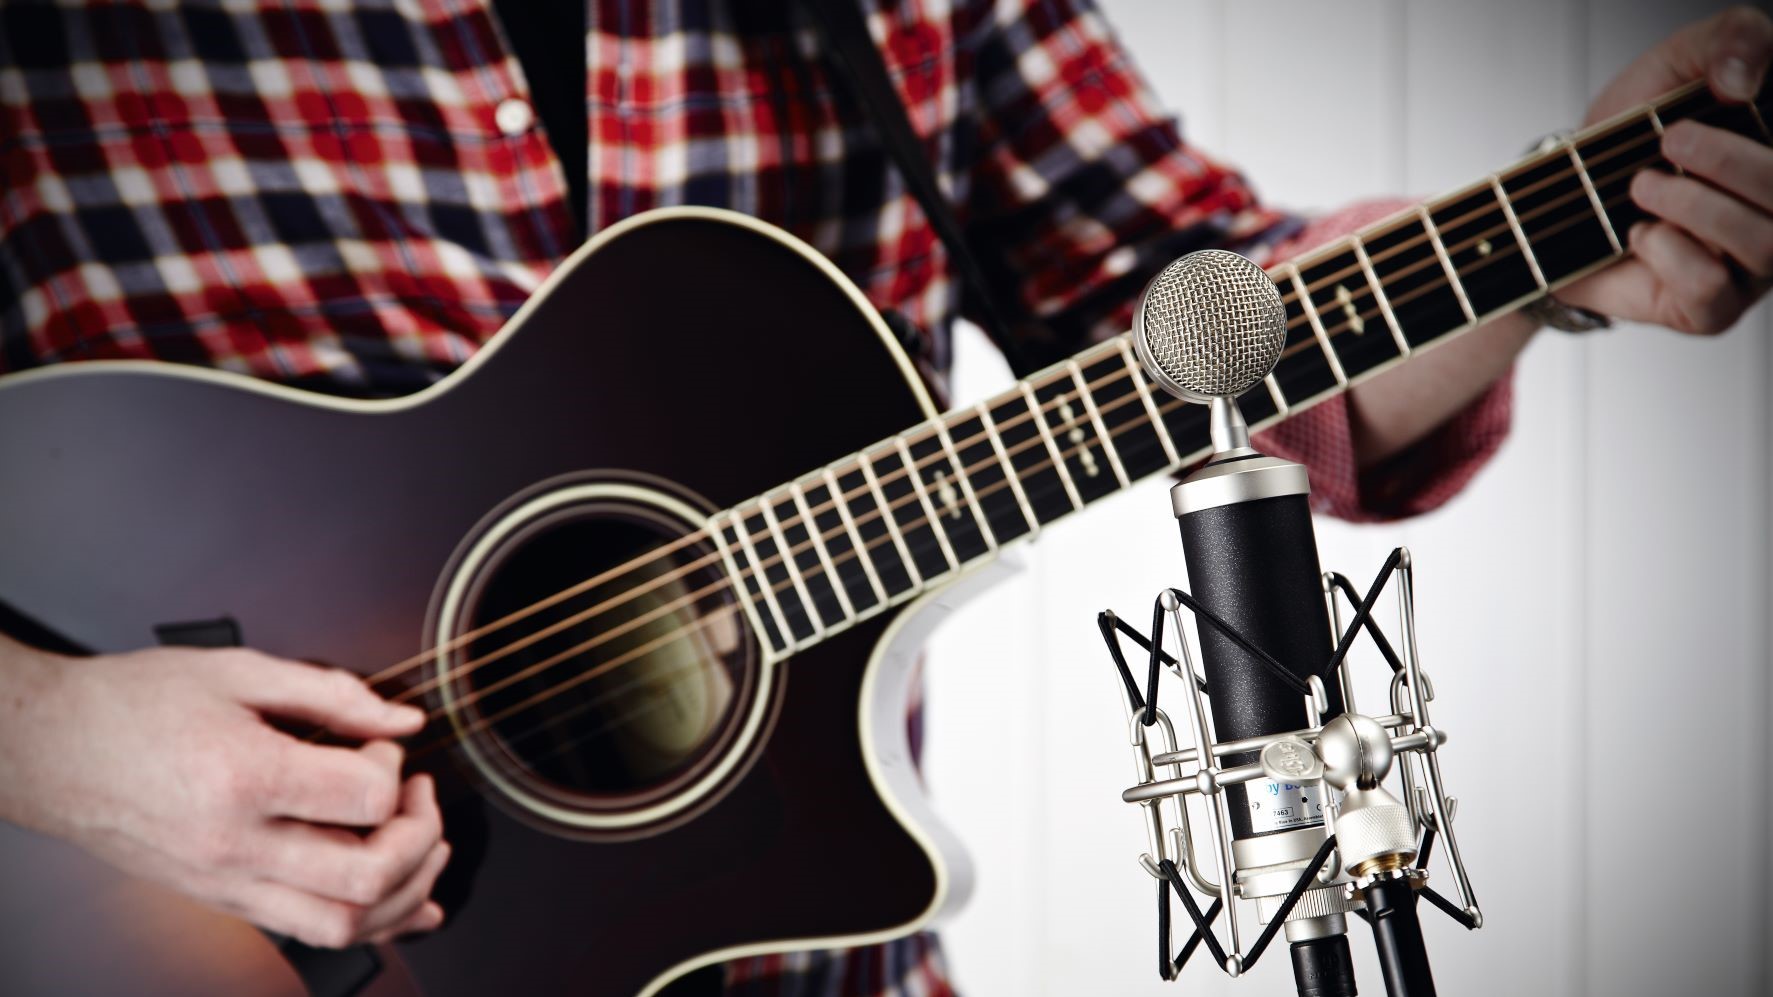
Choosing the right mics and setting them up well is paramount to creating great acoustic recordings, since the mic is the medium that transfers your glorious guitar vibrations into electronic soundwaves.
We checked in with producer Mikel Ross at Lucky Recording Company in Brisbane, California, where he recently worked on the fabulous Eric McFadden Does AC/DC: Acoustic Tribute album, which features myriad guitar approaches and tones.
We pooled ideas to create the following information and advice...
Microphone Selection Tips
Ribbon mics as well as large- and small-diaphragm condensers are ideal for recording acoustic guitar. We’ll address dynamic mics here as well, since many players already own one, such as the ubiquitous Shure SM57 or SM58.
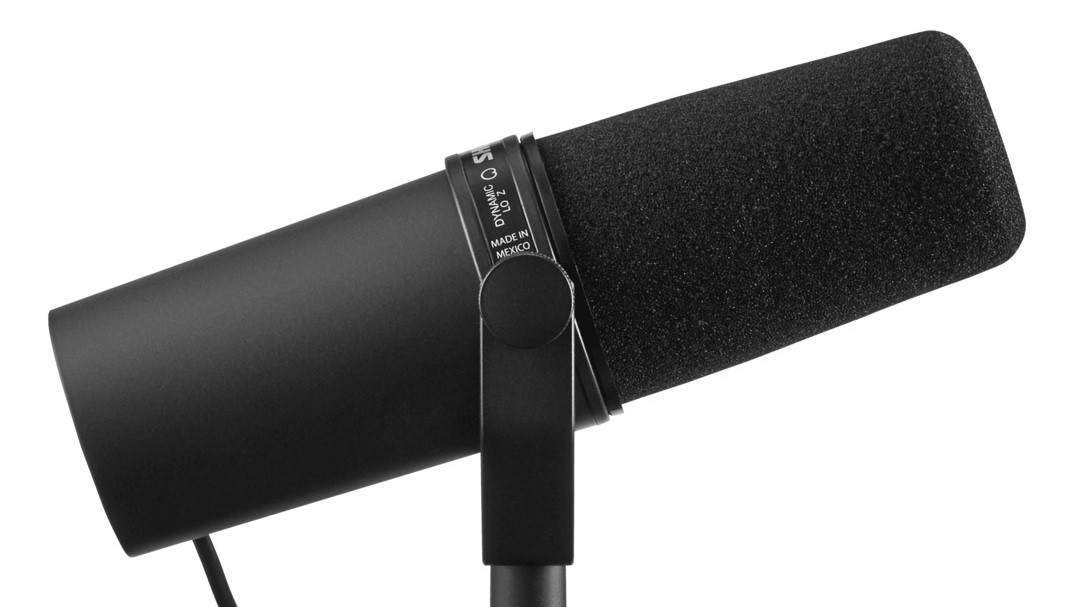
A 57 pointed at the 12th fret will work for adding a percussive acoustic to complement electric guitars on a pop-punk track, but common dynamic mics aren’t ideal for most acoustic guitar applications. Ross recommends checking out the next-level Shure SM7B because “it delivers a super-accurate representation of whatever it’s pointing at, without coloration.”
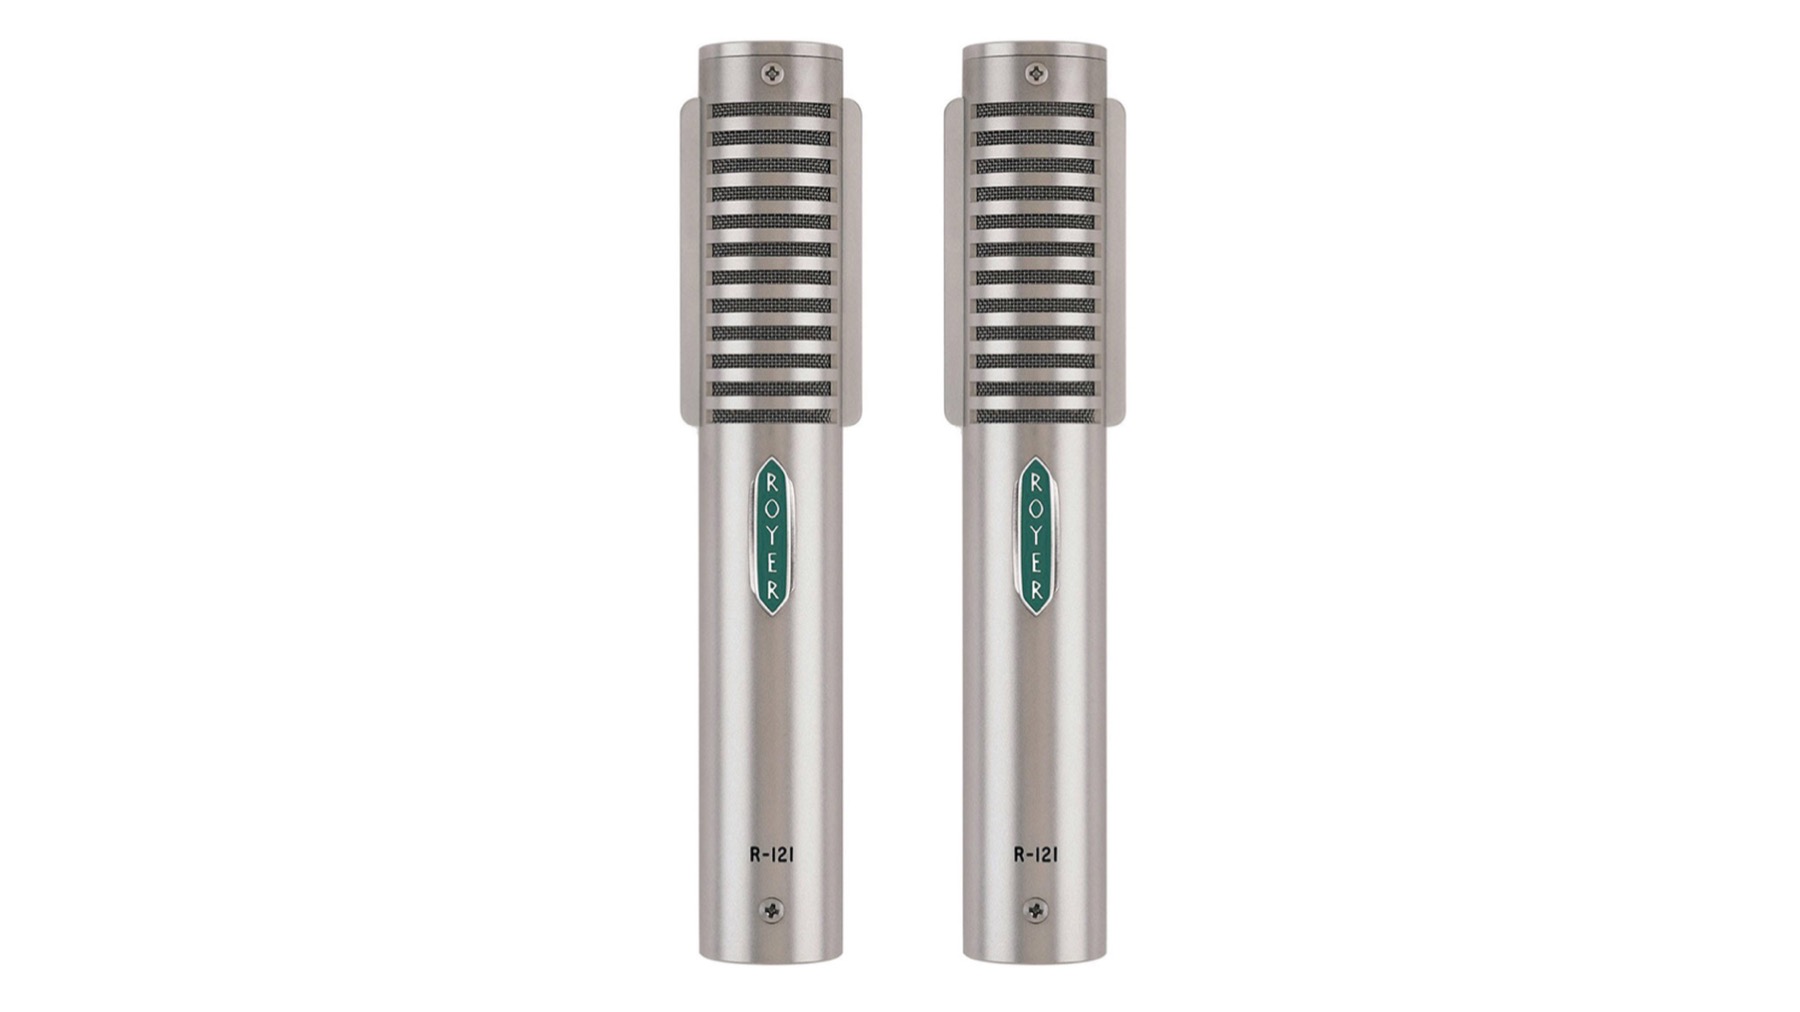
Ribbon mics are generally excellent, because they capture very natural-sounding acoustic guitar tones with great sensitivity. Ribbon mics have a figure-eight polar pattern, meaning the front picks up direct sound while the back picks up ambient sound, acting almost like a second mic. Suggestions include the Cascade Fat Head, Coles Electroacoustics 4038 and Royer R-121.
Condenser mics have either a small or large diaphragm. The quick response of a small-diaphragm condenser such as the AKG C451 makes it ideal for recording an articulate acoustic guitar track capable of cutting through a full band mix.
All the latest guitar news, interviews, lessons, reviews, deals and more, direct to your inbox!
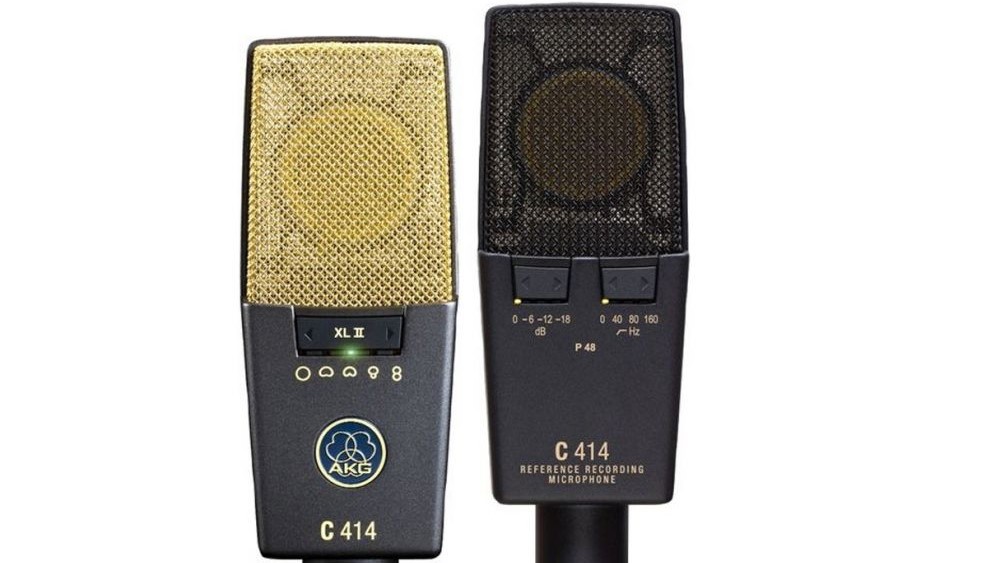
A large-diaphragm condenser is great for solo acoustic tracks because it will capture a broad sonic spectrum with plenty of body. The AKG C414 is a perennial favorite for reasons Ross explains: “It’s even, and doesn’t color your acoustic tone at all. The C414’s focus-ability is very flexible, with several different polar patterns available as well as adjustable levels of attenuation and a variable high-pass filter. If I could only have one mic for recording an acoustic guitar, it would be the C414.”
Capture the Most Tone
Imagine soundwaves pouring from the soundboard like water from a spring,” Ross says. “You want all frequencies of various lengths to finish developing, so the microphone has to be far enough away to allow that without cutting anything off, but not so far away as to miss anything.”
When using a single microphone for a solo acoustic song, place your mic – ideally a large-diaphragm condenser – about four feet away to capture the full guitar sound, plus some ambience. For a percussive-sounding acoustic that will cut through a mix, start with the mic about an arm’s reach away and pointed between the 12th fret and soundhole. Don’t point it directly at the soundhole because your strumming hand will interfere.
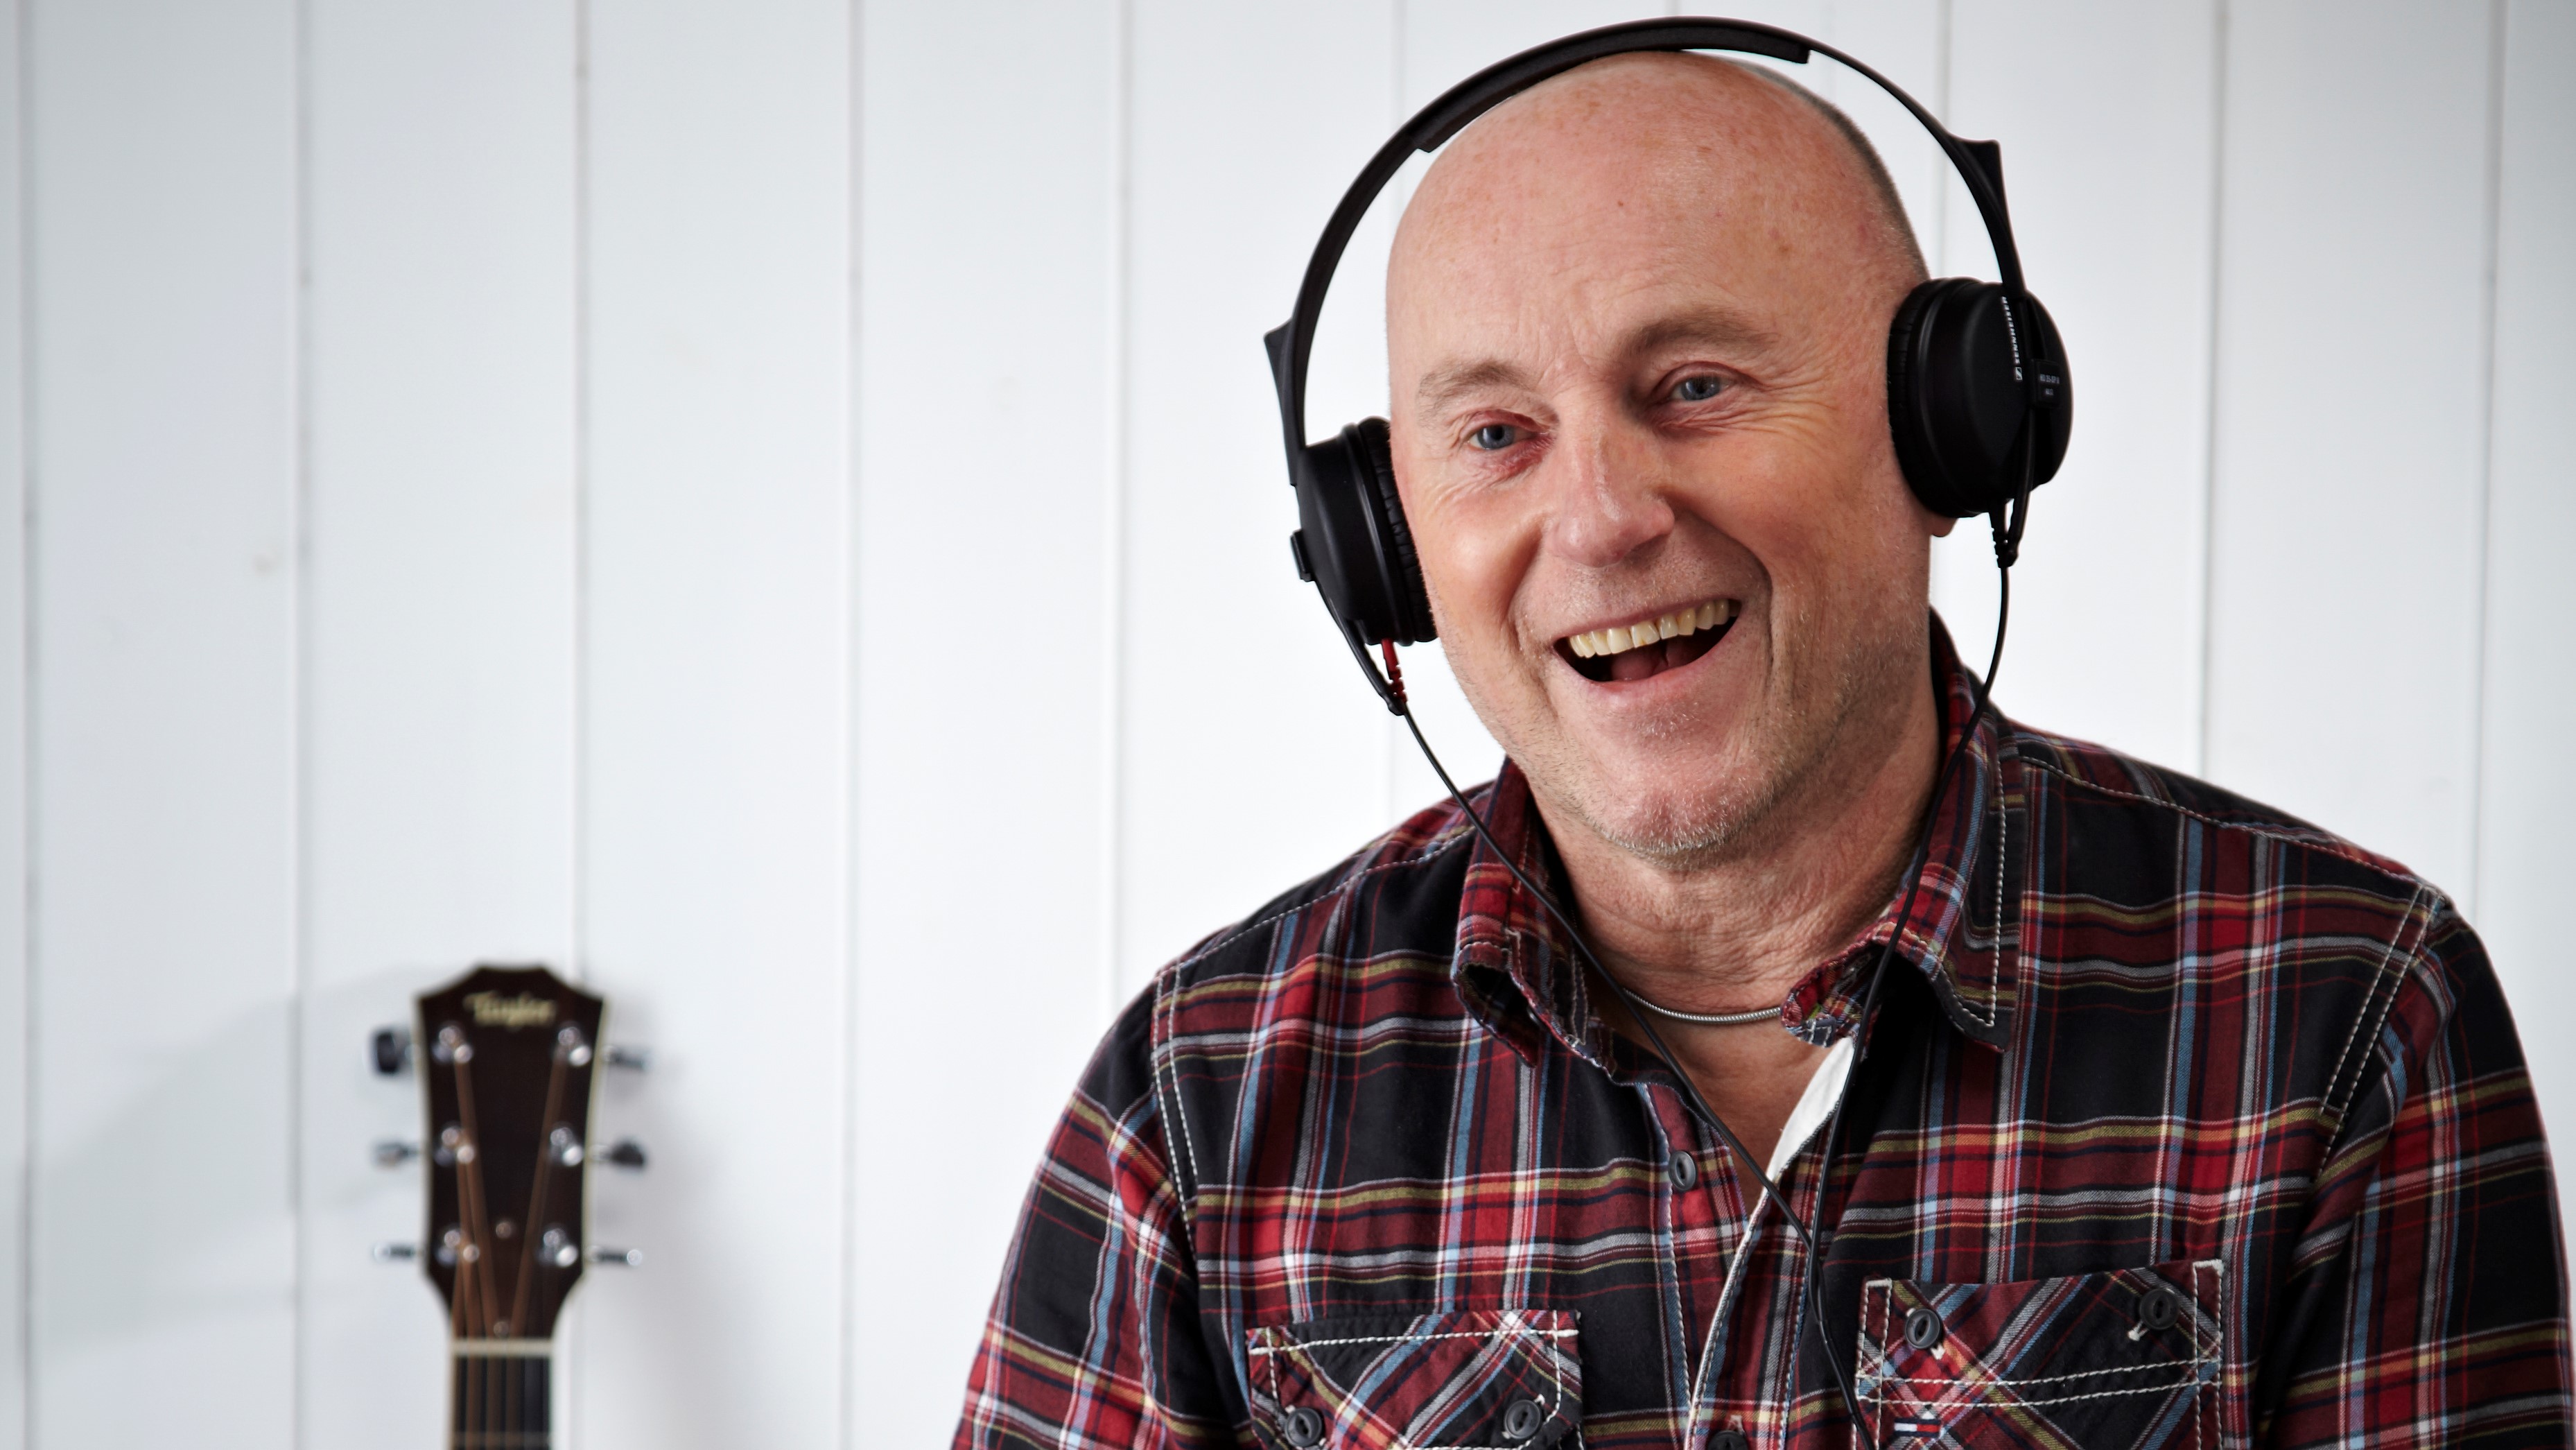
For a fuller sound, start with the mic an arm’s reach away from the lower bout and directed toward the soundhole. Before tracking, put on headphones and move around as you play, listening for the sweet spot.
When using two microphones, mixing mic types will provide a more colorful character. A small-diaphragm condenser pointed between the 12th fret and the soundhole along with a large-diaphragm condenser or ribbon mic near the lower bout is a great combination. To avoid the hollow sound of phase cancellation, follow a 3:1 pair spacing ratio, such as three feet apart and one foot away.
If you have a third mic, capture the room sound or some interesting environmental aspect. You may find a bit of magic absolutely anywhere, from the corner to the ceiling. It all boils down to a single principal: record the maximum amount of the best tone you can achieve. You can always cut sound away during the mixing process but you can’t add more natural acoustic tone, so capture all of it at the highest input level before clipping ensues.
Own Your Adventure
“Remember that there are no rules in recording,” Ross says, “only a few strong guidelines. Be adventurous utilizing modern acoustic-electric guitar technology. Incorporating a direct signal can be helpful for experimentation in the mix. Never forget that some of the most interesting sounds ever recorded were once either considered bad form or mistakes when they happened. We’re actually only beginning to realize the acoustic guitar’s true sonic potential in the studio.”
If you enjoyed this article you may also like to check out earlier instalments from our Acoustic Recording Made Easy series...
Part 1: Getting Set Up to Record
Part 3: How to Choose and Set Up Your Studio Guitar
- Start recording with the best acoustic guitar mics
- Our pick of the best guitar audio interfaces
Jimmy Leslie is the former editor of Gig magazine and has more than 20 years of experience writing stories and coordinating GP Presents events for Guitar Player including the past decade acting as Frets acoustic editor. He’s worked with myriad guitar greats spanning generations and styles including Carlos Santana, Jack White, Samantha Fish, Leo Kottke, Tommy Emmanuel, Kaki King and Julian Lage. Jimmy has a side hustle serving as soundtrack sensei at the cruising lifestyle publication Latitudes and Attitudes. See Leslie’s many Guitar Player- and Frets-related videos on his YouTube channel, dig his Allman Brothers tribute at allmondbrothers.com, and check out his acoustic/electric modern classic rock artistry at at spirithustler.com. Visit the hub of his many adventures at jimmyleslie.com
