In a guitarist’s life, few things are as fun and gratifying as jamming out on a 12-bar blues progression with a friend, a band or even by yourself.
And sure, the soloing part is a blast, but as with many different musical styles, your primary role in blues guitar is in most cases to accompany a singer or other featured instrumentalist who is playing a melody.
So if you’re feeling limited by your blues comping (chord, or rhythm guitar, playing) ability and vocabulary and are searching for inspiration in those areas, this lesson presents a variety of tried-and-true chords, riff patterns and fills that will help fortify your blues comping arsenal.

All of these can be applied to various tempos, grooves and playing scenarios, so grab your favorite axe and let’s get started!
Basic Blues Chording
Let’s begin by getting acquainted with a collection of short, standard blues chord-playing patterns that can be mixed and matched in any variety of ways. Before we get into the examples, let’s consider a few notes about them:
1. For the purpose of economizing space, the first five examples are presented back to back, or side by side on one line, and in 2/4 meter with repeat brackets. Each of these two-beat patterns would typically be played twice across a bar of 4/4 meter.
2. The pick-hand palm muting instructions (P.M.) and staccato markings (those little black dots below some of the note heads, which tell you to reduce the note’s duration by 50 percent) are articulation suggestions that offer a starting point.
Feel free to use little or no palm muting at all, and experiment with normal (non-staccato) articulations and various accents. Ultimately, the choice of how to attack a note is up to the individual player, and the subtle differences in touch and textures make a deceptively simple style ever interesting and exciting.
3. Although blues progressions and rhythm patterns can be played in a variety of keys, for the sake of continuity and comparison here, all of the examples in this lesson are presented in the key of G.
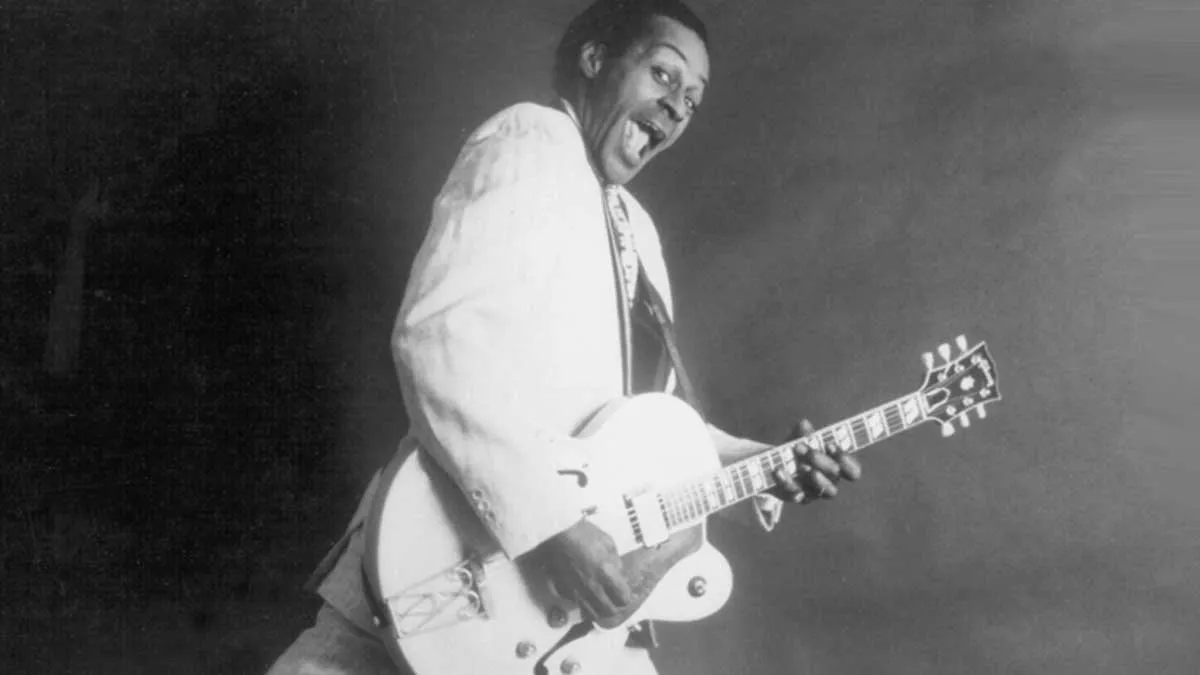
Additionally, they’re all performed with a swing-eighths, or shuffle, feel, which is based on an undercurrent of eighth-note triplets, but alternatively, each example can be played with an even-eighths, or “straight-eighths,” feel, like that heard in the Chuck Berry blues-rock classic “Johnny B. Goode” and also “The House Is Rockin’,” as famously recorded by the late, great Stevie Ray Vaughan.
Ex. 1 shows the foundational root-5th/root-6th boogie pattern that’s been around since before Robert Johnson went into a recording studio and laid down “Sweet Home Chicago” way back in 1936.
Fashioned to complement and/or imply a G7 harmony (G, B, D, F), the riff is based on a root-5th G5 power chord structure (G, D) with a complementary root-6th (G, E) embellishment added on beat 2 to provide some movement.
Regarding the chord fingerings indicated below the tab, if you’re having trouble making that two-fret stretch between fingers 3 and 4 (the ring finger and pinkie), try substituting your 2nd finger (the middle) for the 3rd, using your 1st and 2nd fingers to form the foundational root-5th power-chord shape.

Ex. 2 offers a subtle variation on our initial riff pattern that has just a single strum on the root-6th embellishment followed by an immediate return to the root-5th power chord.
Ex. 3 puts a rhythmic and melodic twist on the pattern with a triplet-fueled hammer-on move. A well-known example of this pattern in action can be found in the intro to the acoustic guitar riff in the song “Revolution 1” by the Beatles (the slow version from The Beatles, a.k.a. the White Album).
Ex. 4 features an inherently bluesy handoff from the minor, or flatted, 3rd, Bb, to the major third, B, on the low E string. The Bb note provides a passing “blue-note rub.”
Ex. 5 also incorporates this minor-to-major-3rd ploy, here combined with the triplet rhythm introduced in Ex. 3.
Our next set of figures is based on the same root-5th/root-6th pattern, but with an added b7 (F is the b7 of a G7 chord, which is spelled G, B, D, F). Formula-wise, this gives us root-5th/root-6th/root-b7th.
Ex. 6 lays out the pattern utilizing a steady stream of dyads (two-note chords). This is a cool and fat-sounding riff, but the required pinkie stretch up to F at the 8th fret on the A string can make it somewhat arduous to play for guitarists with small hands.

Ex. 7 offers one alternative solution, which separates the notes and allows you to momentarily let go of the low G root note while reaching up to grab the F.
If you’re still having trouble fretting that F note comfortably, Ex. 8 offers yet another option, which relocates the note to the D string’s 3rd fret. This approach easily facilitates the sustaining of the foundational root-5th power chord structure throughout the entire figure.
Ex. 9 provides a cool-sounding and challenging road test for setting all of these riff patterns in motion.
The layout is a basic 12-bar blues progression in the key of G: four bars on the I (one) chord, which has an implied G7 tonality, followed by two bars on the IV (four) chord, which alludes to C7 (C, E, G, Bb), then back to the I for two bars (7 and 8).
The next three bars (9–11) descend from the V (five) chord, an implied D7 (D, F#, A, C) to the IV and then back to the I.
The progression is capped off in bar 12 with a brief return to the V chord (D7), which brings us back to the I (G7) in bar 1 of the next 12-bar chorus.

As the first four bars stay rooted on the implied G7 tonality of the I chord, that affords us plenty of time to juggle several of the riff ideas that were introduced earlier. The text notation above the TAB staff identifies the previous short riff patterns from Examples 1-8 that are being dispatched here at any given moment.
In bars 5 and 6, the patterns from Examples 7, 5 and 3 are shifted up to 8th position and applied to the IV chord, the implied C7.
Bar 7 marks the return to the I chord, where we encounter the pinkie-saving riff option from Ex. 8 followed by the bluesy minor-to-major- 3rd figure from Ex. 4 and a chromatic single-note climb (C - C# - D) to the root of the ensuing V chord, the implied D7, which we get to on the downbeat of bar 9.
Here we transplant the G7 riff from Ex. 8 over to the A and D strings and move it up two frets to align with the D7 chord. (Note: All of the riff patterns in Examples 1–8 are transferable to this next higher pair of adjacent strings.)
In bar 10, the pattern from bar 9 shifts down two frets to describe the implied C7 chord. Bar 11 moves back over to the bottom two strings for the return to the I (G7), followed by the aforementioned turnaround to the V chord, which satisfyingly sets up the curtain-closing G5 chord.
Adding Some Flair
Now we’re going to add pizazz to the meat-and-potatoes riff patterns learned so far. Ex. 10 is inspired by the churning riffs that drive such blues classics as “I’m Your Hoochie Coochie Man” (Willie Dixon), “I’m a Man” (Bo Diddley) and “Mannish Boy” (Muddy Waters).

Again, fashioned to describe a G7 tonality in a blues shuffle setting, the example is rooted upon a foundational G5 power chord shape and interspersed with passing triads and broken chord voicings on the higher strings, all played in 3rd position and built around what would be a full six-string G7 barre-chord shape, which is never actually played here.
The pickup bar features the primary move: a passing C/G triad shape (voiced with the 5th, G, as the lowest note, or “in the bass”) and a partial G7 chord enhanced with a decorative grace-note hammer-on from Bb to B. The result is a soulful, down-home gospel-style move, which happens again at the end of bar 2.
Any blues soloist worth their salt has a bagful of turnaround licks - licks crafted for the final two bars of a blues progression
The other highlight occurs on beat 4 of bar 1. Essentially a reversal of the previous move, it’s launched by a higher G major triad inversion, which is again decorated by a b3 grace-note hammer-on and is then answered by a stripped-down voicing of C6 (C, E, G, A) with its 5th, G, omitted.
Any blues soloist worth their salt has a bagful of turnaround licks - licks crafted for the final two bars of a blues progression - but you needn’t wait for your solo to throw one in.
Rhythm players often join in on the fun when the progression turns back around to the top. Ex. 11 features a classic passage that could be inserted in the turnaround bars of a blues progression in G (bars 11 and 12).

While harmonically complex, it’s based on a simple idea - an ascending chromatic melody (B - C - C# - D) that targets the root of the impending V chord, D7 (refer to bars 8 and 12 of Ex. 9).
A counterpart, or counterpoint, line meanwhile descends chromatically to meet the same target D note an octave below (F - E - Eb - D). Together, the two lines imply the indicated chords while creating musically interesting contrary motion.

Ex. 12 puts these riff ideas to the challenge over the same basic 12-bar progression used in Ex. 9. The riff from Ex. 10 is dispatched to drive the first part of the progression. In bar 4, a single-note climb up the low E string anticipates the implied C7 chord, and the same riff idea is transported up to the 8th fret.
Notice that this IV-chord riff arrives one beat early - what’s known as an anticipation - just like the I-chord riff did in the pickup bar that preceded bar 1.
Bar 7 zips back down to 3rd position for the I chord (G7), which is likewise anticipated by a beat at the end of bar 6.
Bar 8 climbs back up the low E string, approaching 10th position for the targeted V-chord (D7) in bar 9. Here the riff is rhythmically reconstructed and then answered in like fashion for the C7 chord in bar 10, two frets lower. Bars 11 and 12 wrap things up nicely with the turnaround passage from Ex. 11.
Jump Blues
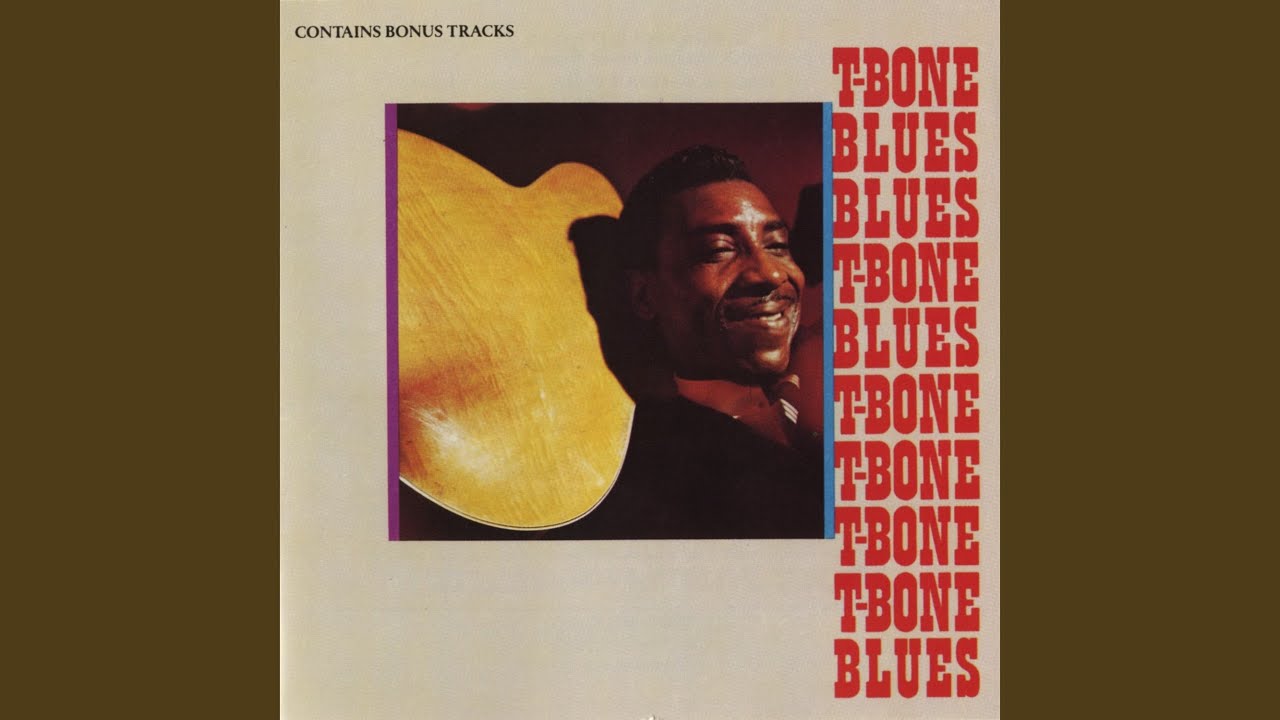
Our next category of blues rhythm guitar explores ideas that fit the jump blues style. Jump blues is an uptempo form of the blues shuffle that also typically features more harmonically sophisticated and jazzy, or “uptown,” chord voicings played on the higher strings, especially major 6 and dominant-9 chord qualities, which emulate the signature sounds of a big-band horn section. (Listen to T-Bone Walker’s “T-Bone Shuffle” to hear a typical example.)
The style was a major influence on early rock and roll and rockabilly, with the song “(We’re Gonna) Rock Around the Clock” by Bill Haley & His Comets (featuring guitarist Danny Cedrone) being a primary example.
Ex. 13 illustrates a variety of chord voicings that would be likely candidates for the 12-bar blues progression in the key of G that we’ve been working with.
The first three are suitable variations to use over the I chord, G7. The G6 (G, B, D, E) exudes a jazzy flavor. Moving this shape down two frets casts a passing G9 (no3) tonality (G, D, F, A), voiced with the b7, F, in the bass. (Check out Lonnie Mack’s version of “Memphis” for an excellent example of these two chords at work.)

The G9 (G, B, D, F, A) is a ubiquitous chord shape found in many modern musical styles, especially blues and jazz, as well as R&B, soul and funk.
Many guitarists often omit the root note and allow the bass player to provide it in the lower register, which can make for a tighter rhythm-section sound overall.

Next, we encounter five voicings that could be used for the IV-chord (C7). The C6 shape was discussed in Ex. 10, and the C9 chord (C, E, G, Bb, D) that follows is a transposed version of the G9 voicing and shape we just encountered, so let’s skip to the first C9/Bb chord.
This shape is often used in conjunction with the C6 voicing in the same manner as the G6 and G9/F chords - it’s the same grip, shifted down two frets. The second C9/Bb voicing (see bar 4) is an intriguing shape that’s often slid along the fretboard chromatically, in a pseudo–chord-melody style. The C9/E and D9/F# voicings that follow are commonly used uptown substitutions for stock dominant-7 chords.
Finally, the inverted D9/C voicing (D9: D, F#, A, C, E) which omits the 5th, A, has a bold, punchy sound that’s very appealing. Many blues guitarists refer to this as the “Hideaway” chord, in reference to Freddie King’s celebrated use of it in his classic recording of that song.
Again, notice that most of the chord shapes in this example are voiced on the higher strings, which lends them a bright sound that helps the voicings really pop out in the mix, just like horn-section stabs.

Ex. 14 creatively applies the above set of voicings to our working 12-bar blues progression template in the key of G.
Bars 1-4 establish a familiar melodic theme, courtesy of the slippery juggling of G6 and G9/F voicings. Bars 5 and 6 (the IV-chord section of the progression) respond to the theme via C6 and C9/Bb shapes. Bars 7 and 8 present a variation of the initial I-chord riff that’s capped with a chromatically ascending C#9–D9 handoff, which slides into place at the end of bar 8 and into bar 9.
A series of dominant-9 chord inversions ensues, followed by a crafty, triple-stop-fueled turnaround figure in bar 11, and the performance goes out with a group of root-position, dominant-9 shapes.
Jazz Blues Comping
Some guitarists may not know it, but much traditional jazz music is heavily steeped in the blues. Emphasis on the eighth-note upbeats (rather than the downbeats) of blues shuffle rhythms results in what is known as the swing feel.
In terms of comping, the chief difference between the two styles is that jazz chords generally tend to be more harmonically complex than blues grips and are typically played in a sparser rhythm, with more “holes of silence” between chord stabs.
Check out the chord frames illustrated in Ex. 15a. These represent common jazz voicings that could serve as anchor chords to navigate a jazz blues in G. As you play through them, take notice of the highest note in each voicing.
These are the melody notes that help the player decide which voicing to use to create the desired voice-leading or chord-melody passages.

The chords that are shown in Ex. 15b can be used as passing chords and substitutions to help add greater harmonic interest to the basic I - IV - V form.

Believe it or not, Ex. 16 is based on the same I - IV - V blues progression that we’ve been using throughout this lesson. This version, however, has been fancied up, or reharmonized, using jazz methodology. The first variation occurs in the second bar, with an early arrival, or preview, of the IV chord.

Often referred to as the “quick change to the IV,” this move, which is followed by a return to the I chord in bar 3, is also a common occurrence in traditional blues.
The chords Dm11 (D, F, A, C, E, G) and Db9#11 (Db, F, Ab, Cb, Eb, G) are inserted in bar 4 to provide a strong voice-leading pull to the IV chord. (Also at play here is a mini ii - V - I passage with a chromatic tri-tone substitution: Temporarily thinking in the key of C, the Dm11 serves as the ii - two minor - chord, the Db9 - #11 - is a tri-tone sub standing in for the G7 chord - rooted three whole tones away - and the C13sus4 is the target I chord.
Bar 6 hosts a pair of diminished seven chords (C#dim7: C#, E, G, Bb, and Edim7: E, G, Bb, Db) that serve a #IVdim7 function, which provides a compelling pull back to the I chord, which in this case is a G13/F voicing.
In terms of comping, the chief difference between the two styles is that jazz chords generally tend to be more harmonically complex than blues grips and are typically played in a sparser rhythm
This grip is used to carve a chromatic passage that leads to the E6 chord (E, G#, B, C#) in bar 8. (The E6 chord and E9 chords function as a VI7 chord substitution in this progression.)
The substitutions in bars 9 and 10 provide a ii - V progression in the key of G, with the G13/F voicing at the top of bar 11 serving as the targeted I chord.
The final stream of chords in bars 11 and 12 forms a complex turnaround passage based on a jazz-style I - VI - ii - V - I cadence. The lowest note in each voicing falls in line with the notes a jazz bassist might choose to play in a “walking” bass line in this style.
Although the transcribed rhythm calls for quarter-note strumming (use downstrokes), inserting a few fret-handmuted upstroke strums, or “chucks,” on certain eighth-note upbeats here and there will help to provide a strong swing feel.
