How to Varispeed Your DAW
Here’s our guide to using the time-honored tape technique on your digital recordings.

All the latest guitar news, interviews, lessons, reviews, deals and more, direct to your inbox!
You are now subscribed
Your newsletter sign-up was successful
One popular tape-recording technique is to alter the tape speed prior to recording, giving the recorded voice or instrument a different timbre when it’s played back at normal speed. This can be used subtly or for dramatic effects.
For example, if you halve the tape speed, the tempo will be twice as slow, and the pitch will be an octave lower. The slower tempo allows a guitarist to play passages that will sound insanely fast, and with a super-bright timbre and short decay, when played back at correct speed.
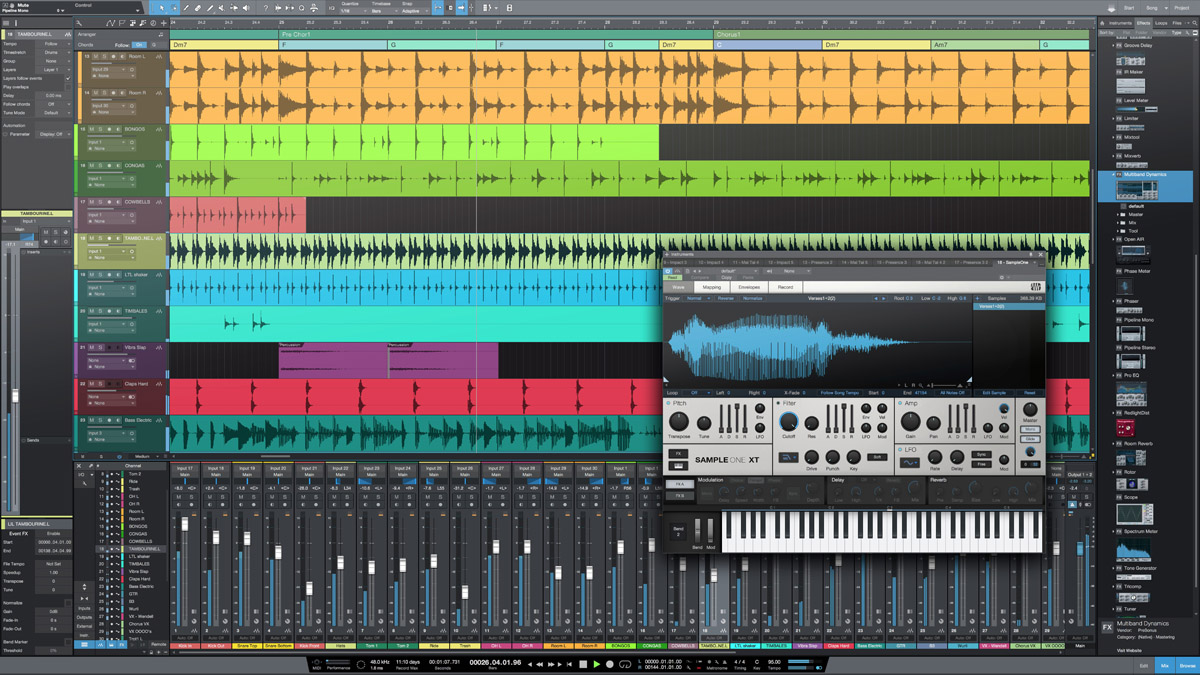
Today’s digital signal-processing algorithms can stretch time and transpose pitch independently of the other. However, most programs don’t have the equivalent of a tape recorder’s varispeed control, which can change the pitch of all tracks simultaneously.
Article continues belowAlthough you can pitch-stretch a DAW’s individual clips and tracks, doing so can be a hassle if you want to change the pitch of an entire song so that you can play along with it, especially when you want to change everything back to normal again.
Most DAWs don't have the equivalent of a varispeed control, which can change the pitch of all tracks simultaneously
Luckily, there’s a simple way to use your DAW’s DSP to create timbre changes with guitar. And unlike tape, this doesn’t alter the song’s tempo. You can do it simply by following these six steps:
Step One
Create a premix of your existing tracks. This usually involves either selecting all your tracks and mixing them down to a new track, or exporting a mix audio file, which you then bring into your project. The premix should always start at the song’s beginning.
All the latest guitar news, interviews, lessons, reviews, deals and more, direct to your inbox!
Step Two
Mute all tracks except the premix.
Step Three
Select the premix and use your DAW’s pitch-stretching algorithm to transpose the premix’s key. For example, if you want a deeper, thicker guitar sound and the song is in E, change the premixed track’s pitch to a higher key, like C eight semitones higher).
Step Four
Record your guitar track along with the premix. Note that you now need to play your part in the key of C.

Step Five
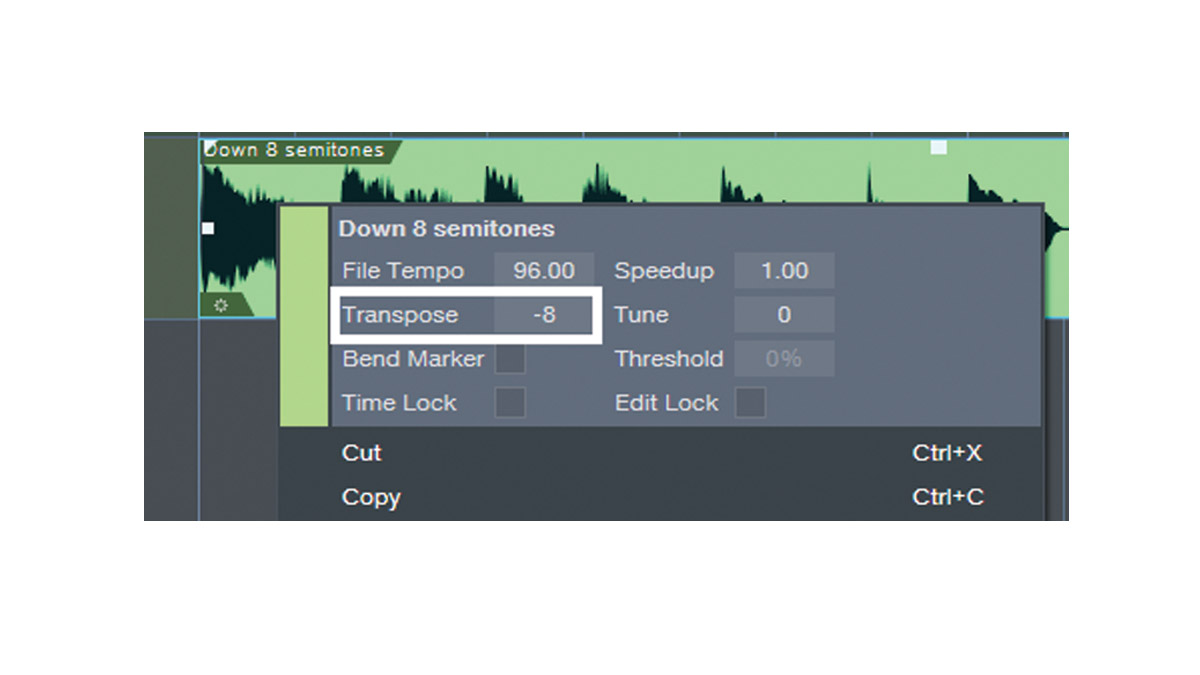
On playback, use the DAW’s pitch stretching to transpose your recorded guitar part down eight semitones (See Fig. 1, above). Now it’s back in the key of E, like the rest of the song.
Step Six
Delete the premix and unmute all the other tracks.
For a brighter, tighter sound, transpose the premix down, play along with it, and then transpose the recorded guitar part up so it matches the project’s original pitch. Modern pitch-shift algorithms can shift at least several semitones with decent audio quality.
You can also apply this technique to multitrack guitars by changing one track’s timbre. This creates a bigger, differentiated sound than if you layered guitars with the same timbre. And because you’ll use different voicings (and possibly more than one guitar) when playing in different keys, the layering will be more interesting than just doubling the same voicings.
To demonstrate the power of this technique, I’ve created an audio demo with eight, four-measure sections:
1. Guitar track without pitch shifting (0:00 - 0:09)
2. Guitar recorded at +8 semitones, shifted down eight semitones on playback and panned left (0:10 - 0:19)
3. Guitar recorded at -4 semitones, shifted back up on playback and panned right (0:20 - 0:29)
4. The three previous examples layered (0:30 - 0:39)
5. Same as 1, through a Line 6 Helix distortion (0:40 - 0:49)
6. Same as 2, through a Helix distortion (0:50 - 0:59)
7. Same as 3, through a Helix distortion (1:00 - 1:09)
8. Sounds 5–7, layered (1:10 - 1:23)
Check out this example, then give this technique a try in your own recordings.
- Visit Craig Anderton for more articles, videos and free downloads.
