It's not surprising if your acoustic guitar, or dry electric guitar, sounds a bit “dull” when its signal is compressed.
Low frequencies are stronger than high frequencies, and they typically trigger a compressor to act upon the signal. When it does, high frequencies are compressed along with the lower frequencies that trigged the compressor.
Although you can boost the high frequencies with EQ to regain what’s been lost, a more natural solution is to compress only the lower frequencies (and reduce their gain somewhat), while leaving the higher frequencies uncompressed so that they ring out above the compressed sound.

Let’s examine four main ways to do this and the pros and cons to each.
Multiband Compression
Multiband compressors split the guitar signal into multiple frequency bands, each with its own compressor. You’ll probably need only two bands – one for the highs and one for the lows.
Solo the high-frequency band, and then adjust the crossover frequency that splits the high and low bands, so the high end retains the sparkle you want. Add the desired amount of compression to the low band, then balance its level with the high band.
Pros: Multiband compressors are relatively easy to set up, and add EQ functionality. For example, you can use three bands and set the lowest band to frequencies below 100Hz or so. Then, rather than compressing the signal, lower its level to trim low-frequency muddiness.
Cons: Multiband compressors draw more CPU power than standard compressors. This is particularly true of linear-phase multiband compressors, which are more accurate but may sound clinical compared to conventional processors.
Compression With Internal Filter/Sidechain
In this setup, the compressor’s internal filter processes the guitar signal that triggers compression. If this filter reduces high frequencies, then only the remaining lower frequencies will trigger compression.
Pros: Sidechain compressors typically have lower CPU consumption than multiband compressors and might have additional controls a multiband compressor lacks.
Cons: The filter rolloff may not be steep enough to produce the desired result, and it can be difficult or impossible to vary the balance of the high and low-frequency components. Furthermore, not all compressors have this feature.

Parallel Processing Inside an Amp Sim or DAW
For example, Overloud’s TH-U includes a crossover for splitting high and low frequencies, and Studio One’s FX Chains can split audio into five frequency bands. With the Line 6 Helix, splitting the signal into two paths (one with a high-cut filter, the other with a low-cut filter) can restrict frequency ranges.
Pros: This approach is easy to incorporate along with other processors in presets.
Cons: However, it’s more time-consuming to set up, and filter options may be limited.
Traditional Side Chaining
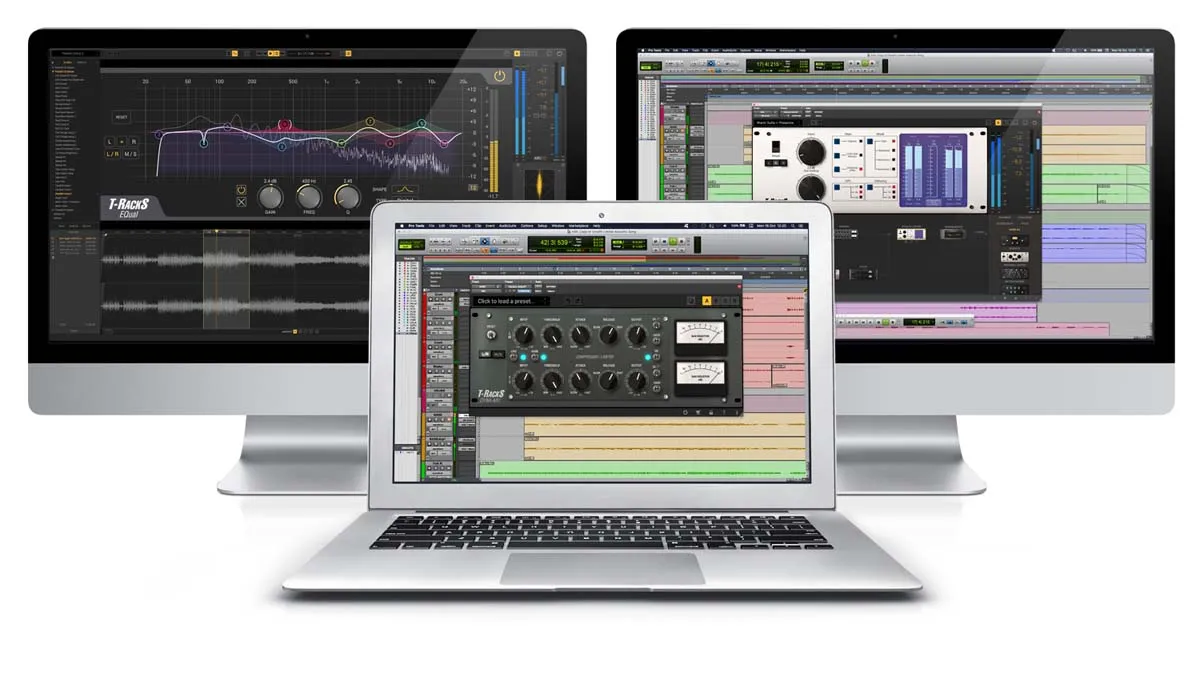
Assuming your compressor has a sidechain input, copy the guitar track. [See Fig. 1, above] You won’t listen to this track, but use it to drive the compressor’s sidechain input. Insert an EQ in the copied track, and adjust the EQ’s range to cover the frequencies you want to compress. Assign the copied track’s output to the compressor’s sidechain.
Pros: This approach provides more flexible filtering than the other options, and you can edit the guitar track driving the sidechain for additional effects.
Cons: It usually requires two tracks and is a more complex setup.
